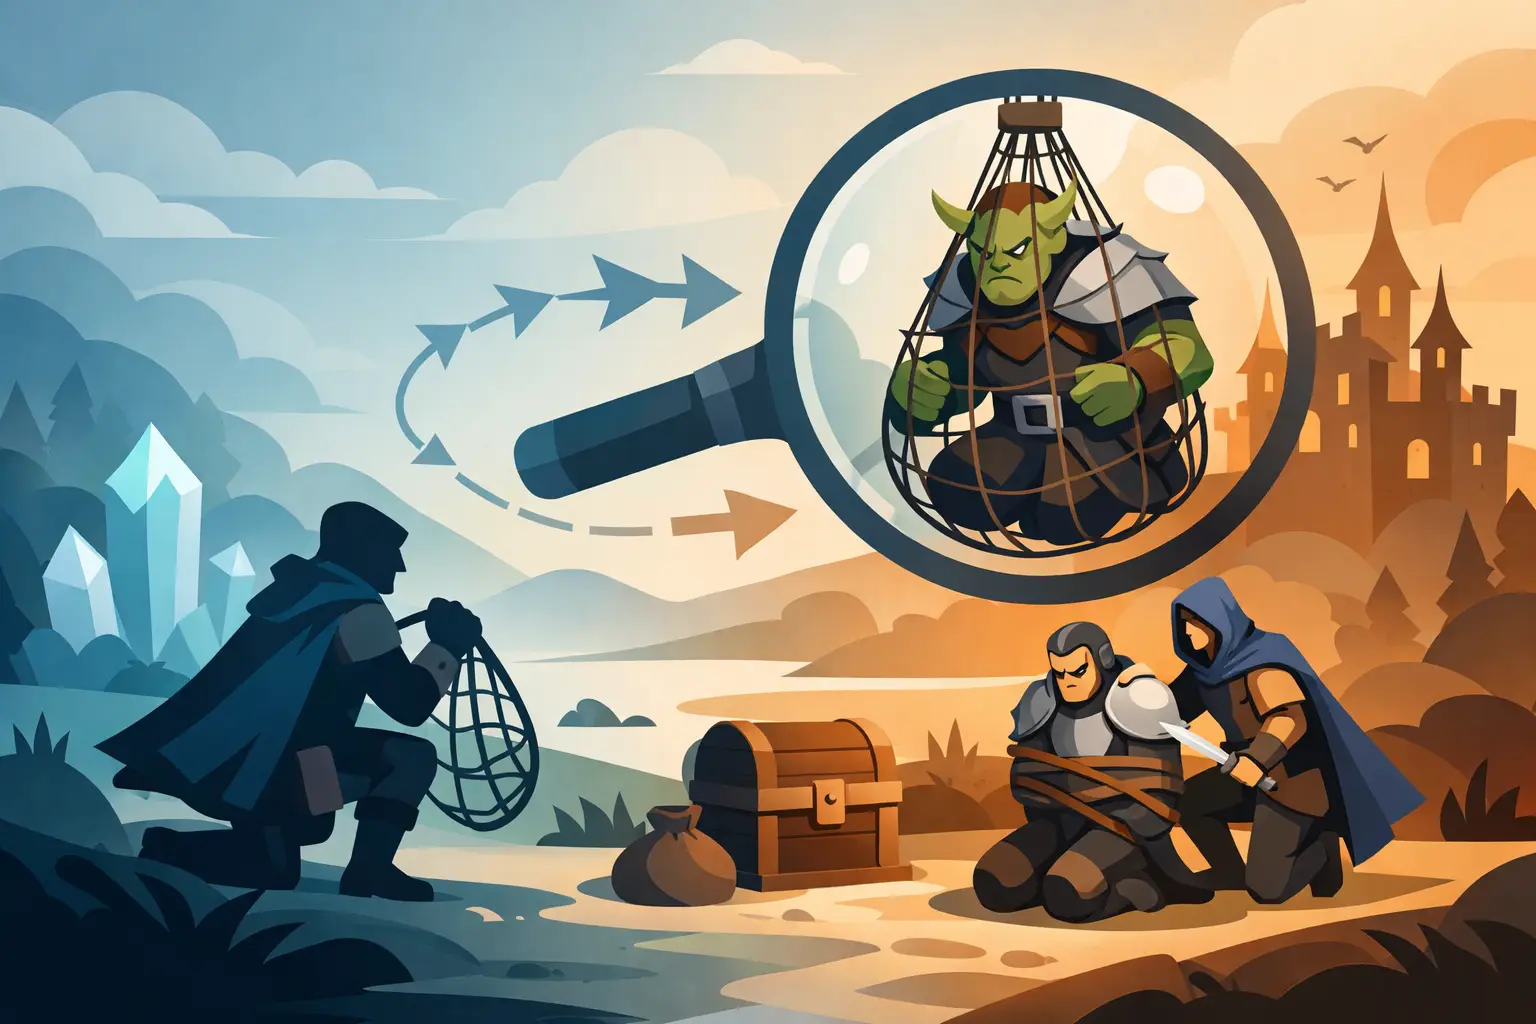
A slain enemy leaves behind experience, currency, and a brief silence. A captured enemy may become the missing piece of a formation for weeks to come. Knowing how to capture RPG enemies means learning to control a battle before its final blow turns a possible Familiar into another body on the road.
In Blood Legends, capture is not merely a button pressed at the end of a fight. It is a decision made through target selection, formation planning, damage control, and patience. Combat is automated, so your preparation matters more than frantic commands in the moment. The Warlord who captures consistently is the one who enters the fight with a plan for what must survive.
How to Capture RPG Enemies Without Killing Them
The central rule is simple: bring the enemy low enough to make capture possible, but do not let your formation erase it first. That sounds obvious until an area attack, damage-over-time effect, counterattack, or critical strike closes the gap without warning.
Before attempting a capture, inspect the enemy’s role and your own team’s output. A fragile backline caster may need a restrained squad with fewer burst attackers. A durable frontliner may tolerate a stronger formation, but can still fall unexpectedly if several allies focus the same target at once. Automated combat rewards careful setup because every skill, stat increase, and formation bonus continues working whether you intended a finishing blow or not.
Capture attempts are often most reliable when the target is isolated. If your team is clearing several enemies at once, reduce the chaos first. Remove dangerous support units, stabilize against heavy damage, then leave the desired enemy alive long enough to bring it into range. The goal is not to make every battle slow. The goal is to create one controlled opening.
Read the Enemy Before You Commit
Not every enemy is worth risking a difficult battle for. A useful capture is one that fills a real need in your collection or advances a long-term plan. Ask what the target offers: a role your roster lacks, a faction or trait that strengthens an existing team, a skill that complements your Warlord, or material value for future progression.
A defensive Familiar can be more valuable than another damage dealer if your formation collapses before its backline gets time to act. A debuffer may transform raid encounters even when its raw power seems modest. Early on, broad collection gives you options. Later, selective captures matter more, especially when leveling, evolving, equipment, and Blood Bond investment begin demanding scarce resources.
There is also a practical reason to study a target before weakening it. Some enemies are built to escape pressure through healing, shielding, or sudden bursts of damage. Others become more dangerous at low health. If the encounter can turn against you once the target is weakened, bring enough sustain and control to survive the extra rounds needed for capture.
Build a Formation That Can Hold Back
A capture formation should be capable of winning while avoiding excessive damage at the wrong time. This is where many players lose valuable targets. Their strongest squad is designed to end battles quickly, which is perfect for farming but often poor for controlled captures.
Consider using fewer high-burst Familiars when pursuing a fragile target. Replace one overwhelming attacker with a durable defender, healer, or support unit if it gives the battle more room to breathe. You may lose a little speed, but you gain control over the pace of the fight.
Positioning matters just as much as team selection. Frontline pressure can draw enemy attacks away from fragile allies, while a protected backline can keep healing and utility active. If your best damage units strike multiple targets or punish low-health enemies, they may be the wrong choice for a capture attempt. A formation is not only about maximum power. It is about putting the right kind of power on the field.
Watch for Hidden Finishing Damage
The enemy’s health bar is not the whole story. A target at low health can still be killed by effects already set in motion. Damage-over-time effects may trigger after your main attacks. Retaliation skills can punish a final hit. Multi-hit attacks can continue after the enemy has crossed the threshold where you hoped to capture it.
This is why controlled damage is more valuable than raw damage during a capture attempt. Learn which Familiars apply burns, bleeds, curses, chained attacks, execution effects, or splash damage. Those abilities may be devastating in multiplayer and raids, yet unreliable when you are trying to preserve a specific enemy.
If the game allows you to adjust your formation or swap units between attempts, do so deliberately. A failed capture is information. Did the target die too early? Reduce burst and remove finishing effects. Did your team get overwhelmed while holding back? Add protection, healing, or a sturdier front line. Treat each failure as a correction, not wasted time.
Choose the Right Moment to Capture
Timing is the difference between a clean Contract and a ruined opportunity. Do not attempt capture simply because an enemy looks weak. Wait until the battle state is stable: your team has enough health to endure another exchange, the target is sufficiently weakened, and no dangerous enemy is about to turn the fight against you.
In a crowded encounter, it can be wiser to defeat the threats that interfere with your plan before focusing on the capture target. An enemy healer can undo your work. A backline striker can kill a weakened ally while you hesitate. A control effect can disrupt the formation you built to manage damage. Secure the field, then make the attempt.
The opposite can also be true. If the target itself is the greatest threat, delaying too long may cost the battle. In those cases, capture becomes a calculated risk. You may need a more defensive squad, higher levels, better equipment, or a stronger Blood Bond before the target can be taken safely. Walking away to improve your roster is not failure. It is preparation for a harder Contract.
Strengthen Captures After the Battle
A captured Familiar is potential, not immediate dominance. Its value grows through levels, evolution, equipment, skill progression, and the bonds you build around it. Do not judge a new capture solely by its first battle performance. Some Familiars become truly valuable only when their skills reach key thresholds or when paired with allies that exploit their buffs and debuffs.
Give new captures a clear trial. Place them into a formation where their role has room to matter. A tank needs support and time under attack. A debuffer needs allies who can take advantage of weakened enemies. A healer may look underwhelming in easy stages but become essential in prolonged battles, raids, or competitive matches.
Resource discipline matters here. Leveling every capture at once creates a wide roster with little real strength. Focus first on the Familiars that improve the teams you actively use, while preserving promising captures for later. The Bazaar and other collection systems may shape which Familiars you keep, but a Familiar’s tactical fit should come before its novelty.
Capture With a Purpose
The best captures are not accidents. They are answers to problems you have already recognized: a front line that breaks, a lack of control, an empty slot in a formation, or a coming encounter that demands a different kind of power.
As corruption spreads and the Gates continue to cast their shadow across the world, every Contract can change the balance of your warband. Enter each battle knowing which enemy you want, what damage you can afford to deal, and what you are willing to sacrifice to keep that target alive. A patient Warlord does not merely survive the battle. They leave it with another weapon sworn to their cause.