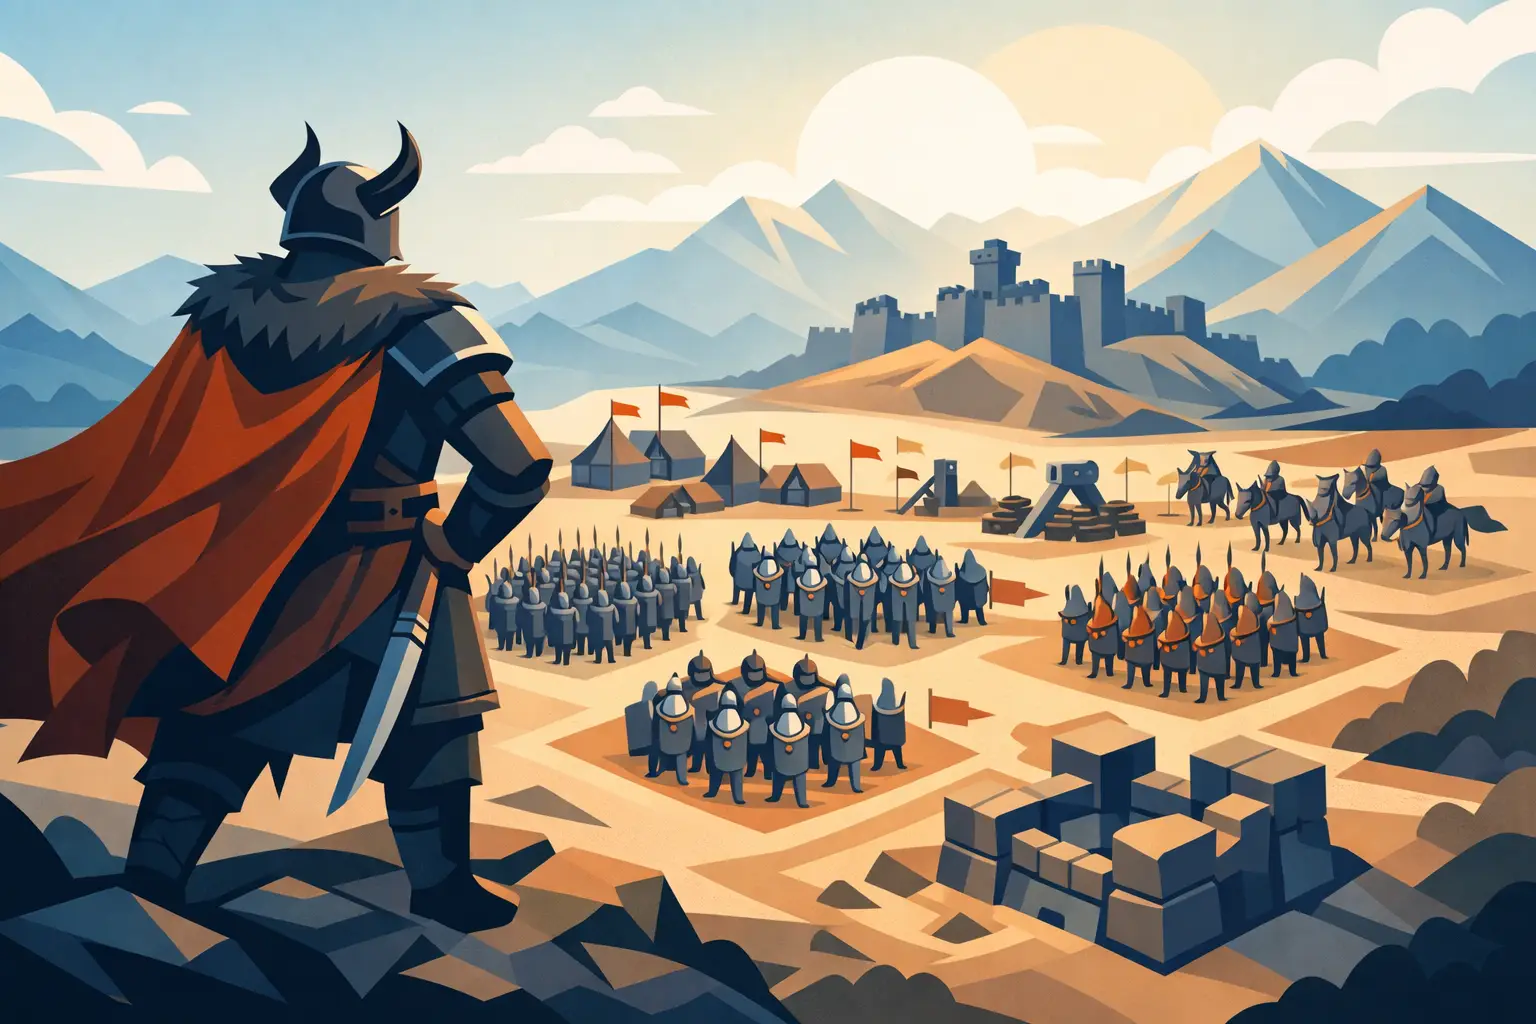
A formation can fall before its strongest Familiar has a chance to act. In a world where battle is automated, knowing how to build Warlord formations is not about watching every strike. It is about deciding, before the first blow lands, who will endure the enemy’s opening assault, who will break their line, and whose skills will decide what remains.
Your Warlord is the center of that design. Familiars, equipment, Blood Bond skills, evolution, and positioning are the forces gathered around them. A high-power team may still collapse if its damage dealers are exposed or its support arrives too late. Build with a purpose, then let the formation carry that purpose into every battle.
Begin With Your Warlord’s Battle Plan
Do not start by placing your rarest Familiars into every available position. Start with the Warlord you chose and the kind of fight that Warlord wants to create. Some Warlords may favor relentless pressure, while others become more dangerous when the battle stretches and enemy strength is worn down. Your formation should support that identity rather than pull in several directions at once.
Ask one question before assembling a team: how does this formation win? The answer might be surviving the first wave and defeating enemies through sustained damage. It might be disabling a dangerous target before it can act. It might be protecting one powerful attacker long enough for their skills to turn the field. A clear answer makes every later choice easier.
This does not mean every team needs a single rigid identity. Story encounters, raids, events, and real-time multiplayer create different pressures. A formation built to erase fragile enemies quickly may be poor against a raid boss with punishing area attacks. Keep a dependable core, but expect to change positions and roles as the threat changes.
Give Every Familiar a Reason to Stand There
A formation is more than a collection score. Each Familiar should have a job that supports the larger plan. The most common roles are protection, damage, control, and support, though a single Familiar can sometimes cover more than one. The goal is not perfect labels. The goal is avoiding a team where everyone asks to be protected and nobody can protect them.
Your frontline should contain Familiars that can survive attention. High durability, defensive effects, damage reduction, self-healing, shielding, or disruptive abilities all make a Familiar more suitable for exposed positions. A frontline unit does not need to be immortal. It needs to buy the rest of your team enough time to act.
Place your fragile but decisive damage dealers where they can work without becoming the first target. Their value often comes from high burst, repeated attacks, or effects that grow stronger over time. If they are defeated early, their listed power means little. A support Familiar deserves similar protection when its healing, buffs, cleansing, or resource effects hold the team together.
Control should be chosen with intention. Stuns, slows, debuffs, silences, or other disruptive effects are strongest when they deny an enemy’s key moment. Against a formation built around one devastating attacker, control can be more valuable than another source of raw damage. Against a long raid battle, however, steady damage and survival may matter more than a short interruption.
Position for the Opening Seconds
Automated combat rewards preparation because the opening sequence can decide the entire encounter. Positioning determines who receives pressure first, who is protected, and whether your most important effects arrive before the enemy’s. Review the battlefield as if you were setting a trap, not filling empty spaces.
Put durable Familiars where enemy attacks are most likely to land. Keep vulnerable carries and supports behind that wall whenever the formation layout allows it. If an enemy uses wide attacks or targets the backline, moving a defender forward is not enough. You may need defensive buffs, healing, control, or a different damage source that can survive the threat.
Do not assume the same placement is correct everywhere. A backline attacker can dominate one encounter and become a liability in another. When facing enemies that punish a particular row, spread your risk instead of stacking every important Familiar in the same vulnerable area. The stronger formation is often the one that still functions after the enemy’s preferred target is gone.
Build Synergy Before Chasing Raw Power
A powerful Familiar can improve almost any roster, but a connected team usually outperforms a pile of isolated strengths. Look for skills that reinforce each other: protection that enables a glass-cannon attacker, debuffs that amplify a damage type, buffs that improve a rapid attacker’s output, or control that gives a slower team time to establish itself.
Pay attention to timing as well as effects. A buff that arrives after your main attacker has already used its decisive skill may be less valuable than a smaller effect available at the start of battle. Likewise, a defense reduction is only meaningful if your team can capitalize on it before the target recovers or defeats your frontline.
Blood Bond progression can change a Familiar’s role. A unit that once existed only to survive may gain an ability that makes it a cornerstone of a control team. Equipment can shift the balance too, turning a borderline defender into a true anchor or allowing a damage dealer to endure one more critical hit. Revisit older Familiars as their skills and stats develop. The Contract that seemed incomplete may become the missing piece of your formation later.
Balance Survival, Damage, and Recovery
Most failed formations lean too far toward one need. An all-damage team may destroy weak encounters, then disintegrate against enemies that survive the opening exchange. An over-defensive team can endure but lack the pressure needed to finish a battle before healing, scaling effects, or time limits become a problem.
A reliable starting point is a formation with someone who can absorb pressure, someone who can threaten the enemy, and someone who can improve your team’s odds through support or control. The remaining positions should reinforce the weakness you expect to face. If your frontline dies first, add endurance or recovery. If battles drag on, add damage or a debuff that accelerates kills.
Healing is not automatically the answer to survival. A healer cannot rescue a Familiar defeated before recovery begins. Shields, mitigation, crowd control, defensive equipment, and correct positioning may prevent that loss more effectively. On the other hand, sustained healing can be invaluable in encounters where damage arrives gradually. The enemy’s pattern decides which defense matters.
Adjust Formations for Each Kind of Enemy
Story battles often reward flexible teams that can deal with mixed enemy groups. Raids usually demand a more specialized response: sustained damage, survival against predictable attacks, and effects that matter over a long fight. Multiplayer is less forgiving. Other Warlords are built by players who understand the same systems, and a familiar formation may be designed to punish the exact setup you rely on.
Before changing everything, identify the first point of failure. Did your frontline vanish immediately? Did an enemy support Familiar keep the opposing team alive? Did your own attacker survive but fail to deal enough damage? One clear observation is worth more than replacing half the roster after a loss.
In multiplayer, test small changes. Move one Familiar, replace one support effect, or alter equipment on the unit being eliminated first. Large changes can produce a win, but they teach you very little about why the formation improved. The strongest Warlords learn the pattern behind a victory, then carry that knowledge into the next rival encounter.
Progress the Formation You Actually Use
Collection is power, but scattered investment can leave your active team trapped between tiers of strength. Focus early resources on the Familiars that form your most dependable core. Level them, evolve them, empower their stats, and develop Blood Bond skills with a clear formation in mind. A smaller group of well-developed Familiars often gives more consistent results than a wide roster of unfinished options.
That said, do not discard every alternate Familiar simply because it is not in your daily formation. Different battles create different needs, and a reserve defender, cleanser, controller, or specialist damage dealer may become essential during an event or raid. Build depth gradually after your core is stable.
Equipment deserves the same discipline. Assign it to solve a real problem. Defensive pieces belong where they prevent a meaningful defeat, while offensive pieces should strengthen a Familiar that can reliably use them. Spreading upgrades evenly feels safe, but concentrating them on a formation’s key jobs often creates a more visible advantage.
How to Build Warlord Formations Through Testing
The final part of formation building is repetition. Watch battle outcomes closely, even when combat is automatic. You are looking for the moment the plan breaks: the first defeated Familiar, the missed control window, the enemy target left untouched, the support effect that arrived too late.
Change one variable, fight again, and compare the result. This method may feel slower than chasing the newest Familiar or the highest power number, but it reveals what your roster is truly capable of. Blood Legends rewards Warlords who treat every defeat as intelligence gathered from the dark.
A formation is never finished. New Familiars, stronger Bonds, evolved forms, raid mechanics, and rival strategies will keep testing it. Let that be the appeal: each battle leaves behind a clue, and the next formation is your answer.