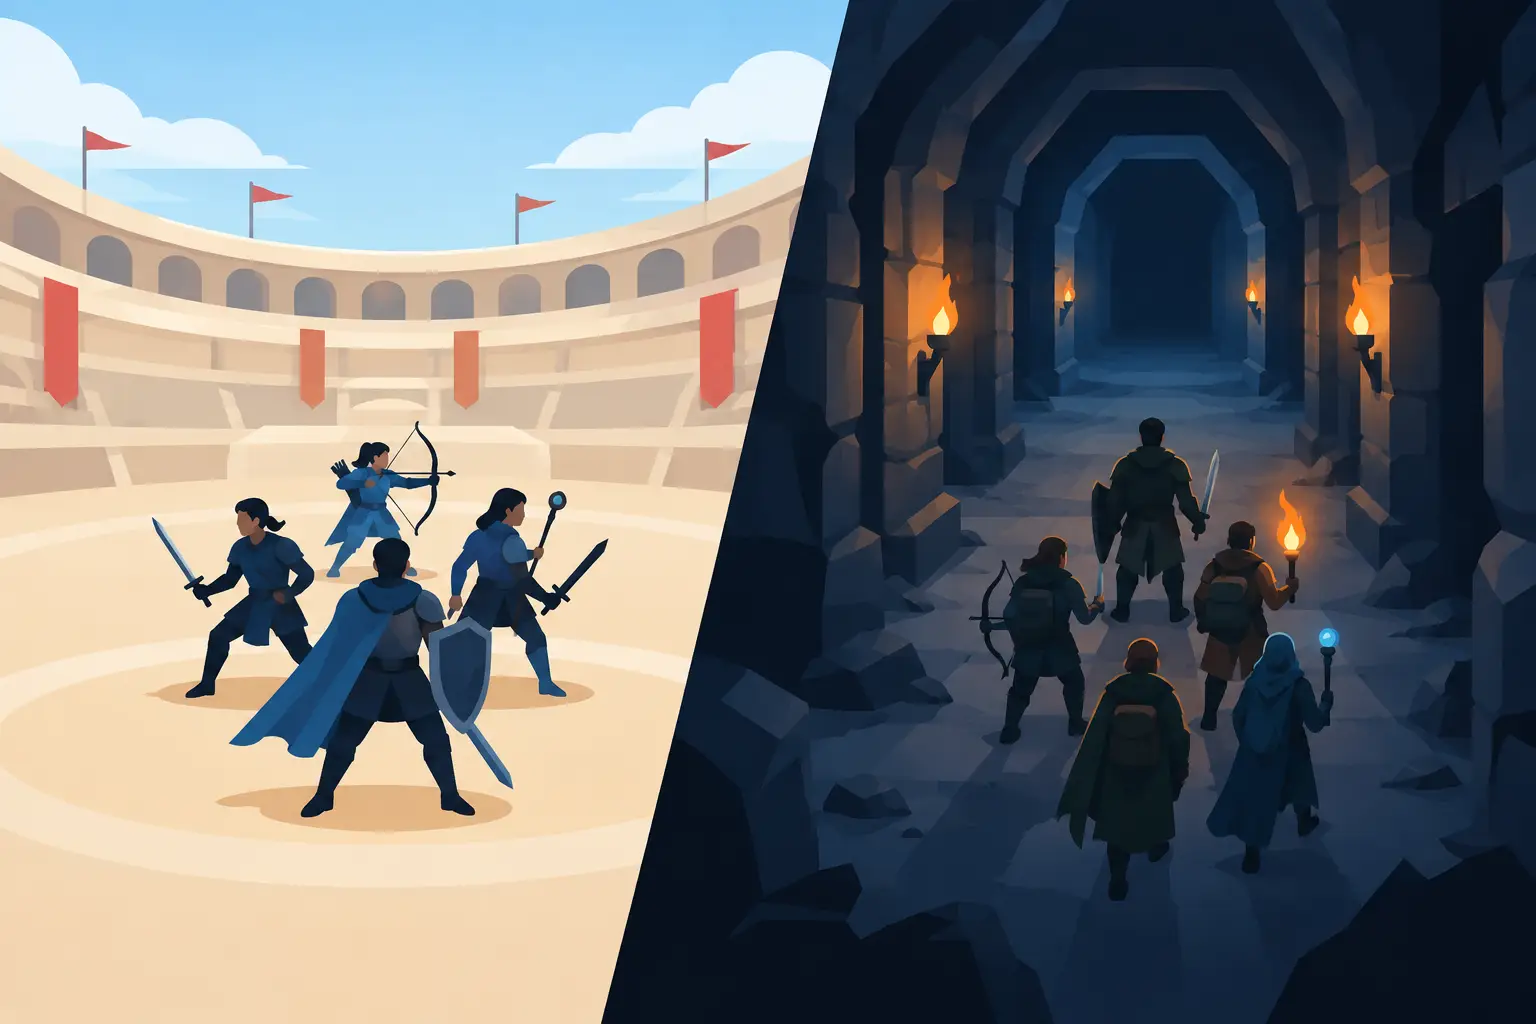
A formation that tears through a dungeon can be a public execution in the arena. That is the central truth behind arena formations versus dungeon formations: the same Familiars, equipment, and Warlord can serve entirely different purposes when the enemy is another player instead of a scripted threat waiting beyond a Gate.
In Blood Legends, combat is automated, but it is never passive. Positioning decides who absorbs the first curse, which ally receives protection, whether your damage dealers survive long enough to cast, and how quickly a battle turns from a measured clash into a collapse. The right formation is not the one with the highest raw power. It is the one built for the danger in front of it.
Why Arena and Dungeon Battles Ask Different Questions
Dungeons test endurance, consistency, and control over a sequence of encounters. The enemy may arrive in waves, carry punishing area damage, or stand behind a durable front line that must be worn down over time. A dungeon team needs to preserve its strength through a long march into corrupted territory. Healing, shielding, sustained damage, and dependable crowd control often gain value because there may be no second chance after several difficult fights.
The arena is more immediate. You are facing another Warlord's formation, built with the same ambition as your own. The fight may be decided in the opening exchange: a backline Familiar is erased before it can act, a key defender is controlled, or an enemy burst window lands before your protection is established.
This does not mean every arena team must be reckless. It means tempo matters more. A formation that spends too long preparing may never recover from an early loss. Likewise, a dungeon formation that survives indefinitely but cannot finish a PvP opponent can become trapped in a slow defeat.
Arena Formations Versus Dungeon Formations: The Core Trade-Off
The simplest distinction is this: arena formations are usually built to win a specific fight quickly or deny an opponent's plan, while dungeon formations are built to clear repeated threats with the fewest points of failure.
In the arena, identify the enemy's most dangerous piece. If their formation relies on a fragile damage dealer, access to the backline may matter more than perfect balance. If their team is built around burst, defensive positioning and early mitigation can matter more than adding another attacker. If they have a single powerful controller, resilience and target pressure may be worth sacrificing some damage.
In dungeons, the question changes. What will stop your run after the third or fourth encounter? It may be attrition, enemy healing, wave pressure, or a boss whose attacks punish tightly packed teams. The answer is rarely a single universal formation. A reliable dungeon roster often includes a stable front line, a source of recovery or protection, sustained damage, and at least one way to disrupt enemies when the fight begins to tilt.
Raw team power can conceal this difference. Two formations with similar power may perform wildly differently because one is tuned for a short, violent exchange and the other is prepared for a drawn-out descent.
Build the Arena Around Threat and Tempo
Protect the Familiar That Wins the Fight
A powerful Familiar is not useful if it falls before its first meaningful action. In arena battles, place your crucial damage, support, or control unit where it is least likely to be removed immediately. That may mean putting a sturdier Familiar in the exposed position, even if that unit contributes less damage.
This is not always a defensive choice. A durable front line can create the few seconds needed for a backline attacker to turn the field into a graveyard. Conversely, a team designed to strike first may accept a vulnerable position because it expects the enemy to fall before retaliation matters.
Watch which Familiar dies first in your losses. That single detail often reveals more than the final damage numbers. If your primary threat disappears at the start of every match, the issue may be placement, protection, speed, or enemy targeting pressure - not its level.
Use Counterplay Instead of Copying Formations
A popular arena formation can be strong and still be wrong for your collection. Copying it without the same evolved Familiars, skills, Blood Bond progress, or equipment may leave you with a weaker imitation.
Build around the tools you actually possess. If your roster has durable defenders and sustained healing, force opponents into longer fights. If you have explosive attackers and control, create a formation that punishes exposed backlines. If your strongest Familiars work best together through buffs or debuffs, preserve that interaction rather than replacing a key piece for a higher-power unit with no synergy.
Arena defense and arena offense can also deserve separate thinking. On offense, you can react to a visible opponent. On defense, your formation must survive many unknown challengers. A specialized counter team may be excellent for climbing, while a more balanced defensive formation is safer when you cannot choose the enemy.
Build Dungeon Formations for the Long Descent
Value Stability Over a Perfect Opening
Dungeon enemies do not care that your formation looked terrifying for the first ten seconds. If it cannot recover after a difficult wave or survive a boss mechanic, the run ends at the edge of a reward.
Start with the front line. Your most durable Familiars should take the pressure they are equipped to endure, while fragile damage dealers and support units stay protected behind them whenever possible. From there, consider what keeps the team functioning: recovery, shields, defensive buffs, debuffs that weaken enemies, or control that prevents a dangerous skill from deciding the encounter.
Sustained damage becomes more valuable here than it may be in a burst-focused arena match. A Familiar that deals reliable damage over a long fight can outperform a glass cannon that spends too much time defeated. The same is true for effects that reduce enemy defenses or limit healing. Against bosses and resilient enemies, those effects can turn a stalled battle into a controlled victory.
Change Formations Between Encounters When Needed
Do not treat one successful dungeon setup as sacred. A formation that clears regular waves may fail against a boss, and a boss-oriented team may clear weaker encounters too slowly. If the mode allows preparation between attempts, use what you learned.
When enemies overwhelm your backline, strengthen the front or add control. When the fight lasts too long, add sustained damage or reduce defensive excess. When a boss erases one ally with a repeated attack, move that ally, reinforce protection, or bring a Familiar that can disrupt the boss at the critical moment.
Each defeat leaves evidence. The first Familiar to fall, the enemy that survives too long, and the moment your formation loses control are all clues. Treat failed runs as scouting reports from the dark rather than wasted attempts.
Positioning Is a Resource, Not Decoration
In automated combat, positioning is part of every Familiar's build. Equipment raises potential, skills define behavior, and formation placement decides whether that potential reaches the battlefield.
A front position is a commitment. It asks a Familiar to absorb pressure, trigger defensive effects, or hold the enemy long enough for allies to act. A protected position is also a commitment. It reserves space for Familiars whose value comes from damage, healing, buffs, debuffs, or control rather than durability.
Do not place units by power alone. A high-power attacker in the wrong place can become an offering to the enemy's opening assault. A lower-power defender in the right position can preserve the entire formation.
This is especially true as your collection grows. New Familiars, evolutions, equipment upgrades, and unlocked skills can change a unit's role. Revisit old formations after major progression. The team that carried you through earlier content may not be the team best suited to the next Gate.
Test One Change at a Time
When a formation fails, resist rebuilding all five positions at once. Change one meaningful variable: move a vulnerable Familiar, replace a front liner, alter a damage slot, or shift toward more protection. Then watch the result across several battles.
This approach is slower than chasing every new recommendation, but it reveals why a formation works. That knowledge matters when the next event, raid battle, dungeon floor, or arena opponent demands a different answer.
The strongest Warlords do not search for one formation that conquers every threat. They keep learning which Familiars can endure the front, which ones must be guarded, and when a battle calls for patience instead of bloodlust. Let every loss show you where the formation broke, then return to the field with the line remade.